How to Draw Animals For Kids
100,351
- staff_illustrator14
- October 2, 2015 (Added)
- 3 (Comments)
It is high time for you to be part of the drawing session on how to draw animals for kids. In the animal kingdom, there are organisms that contain living cells and things but do not use light to have ...
 Show Less
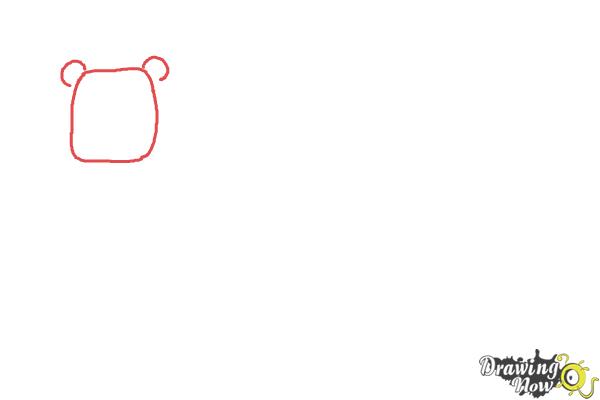
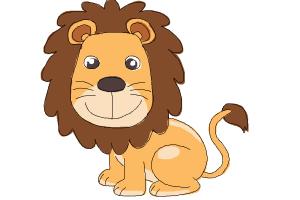
Step 1 - Let´s start with a lion, make a square flopy shape for his head, and two little circles on the top for his ears...there you go!

Step 2 - Now make a big circle around his face with little lines all around for his hair, two dots for the eyes, two little lines on top of the eyes for eyebrows,...and in the middle, a bit lower and oval shape for the nose, with a line on each side...great!!!
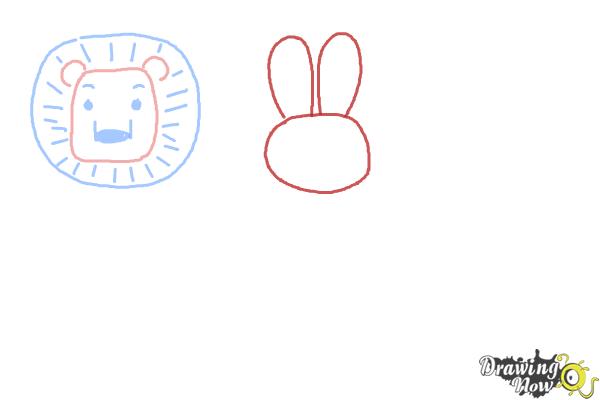
Step 3 - And now a little rabbit!!! Make a round shape for the head and 2 oval big shapes on top of the head, for the ears...cute!!!
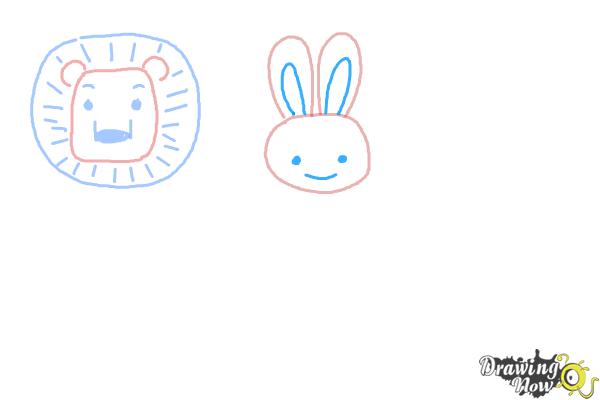
Step 4 - Draw the eyes with 2 little dots, a bit lower than half of the circle,...then a cute smile, and finish the ears by making a smaller oval shape inside each ear...Great!!!
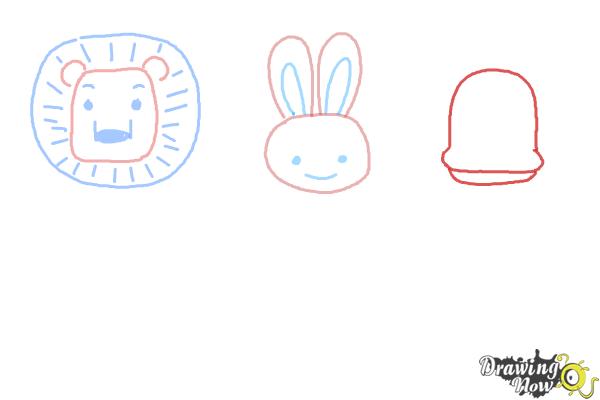
Step 5 - Let´s go for Mr. Hippo, start with a round sahape, finishing kind of square at the bottom, like a bell, then under the plat part of the bell make a boat shape...we got the mouth :)
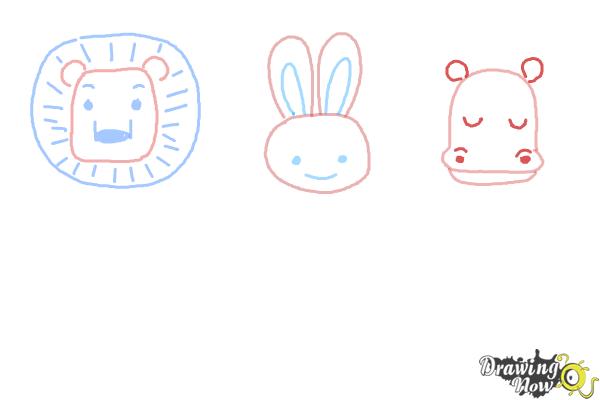
Step 6 - On top of the head draw the ears with 2 little circles, on the middle of the main shape, draw 2 little round lines for the eyes, and a dot with a line, like an eye and an eyebrow, in each side of the wider side of the main shape to make the nose....Perfe
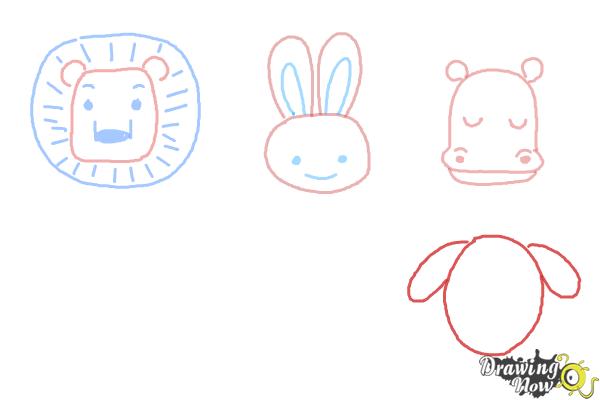
Step 7 - Let´s draw a dog!!! make a round shape for the head, with a drop of rain shape on each side of the circle for the ears...well done!!!

Step 8 - Finish with a big nose on the bottom, 2 dots for the eyes at ears level, and 2 little lines underneth each eye....love it!!!
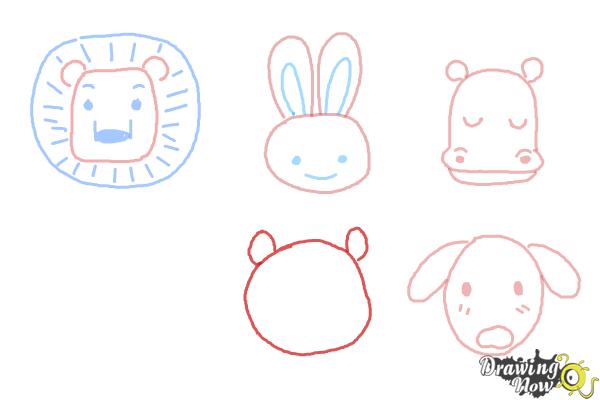
Step 9 - A bear now, start with a round shape for the face, and 2 little round shapes on top of the circle for ears, one on the left and one on the right...Very good!!!
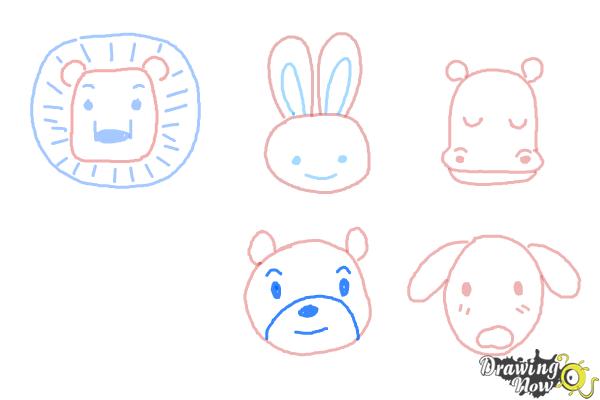
Step 10 - Now make a half circle line, starting at the left bottom side of the round shape, and endding on the bottom right, 3 big dots, one for the nose and two for the eyes, finish with the eyebrows...good!!!!
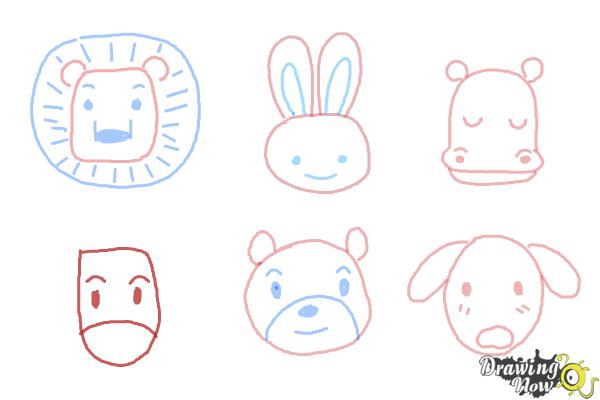
Step 11 - And the last one. The giraffe, start with an oval shape from the left and when you reach the top make it straight joining it with the other part. Make a round line at the bottom. 2 eyes and eyebrows on top...Great!!!
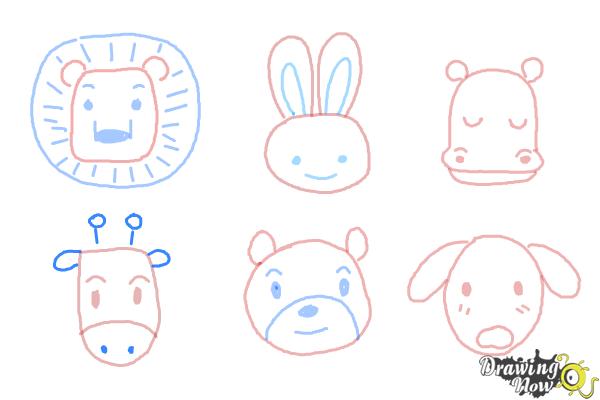
Step 12 - Draw the ears one on each side, and on the top make two lollipops leaving a distance between them...finish it by making 2 little dots at the bottom so the giraffe can breath....Great job!!!
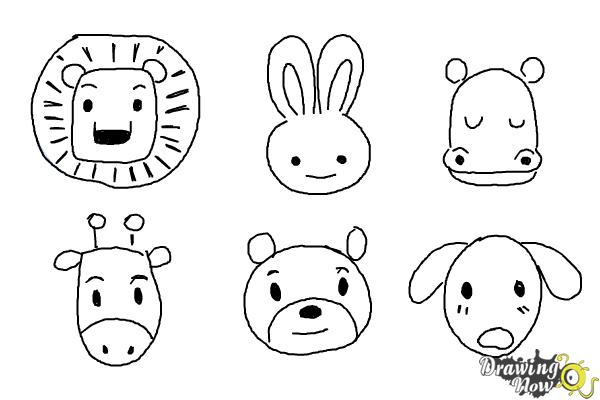
Step 13 - Now trace your pencil lines, using a black marker or a pen. You can also print this coloring page of all your friends animals here. It look great! Congratulations!!!
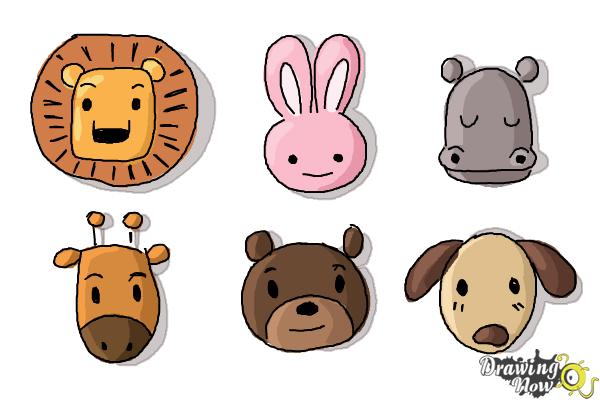
Step 14 - For the coloring, I´ve used different colors and shades for each, playing with the grey as a shade out of the shappe to give them volume. You can also take a look on the coloring tecnique, on the final step video avobe...It was great having you aroung ag
Tazmania
do you use a tablet,computer or laptop
- March 11, 2014
- ·
- Like
- ·
- 1 person
staff_illustrator14
I use Wacom Intuos 6 graphic tablet and laptop
- March 12, 2014
- ·
- Like
jarold
that is verry nice to use the laptop on a tablet
- March 12, 2014
- ·
- Like

