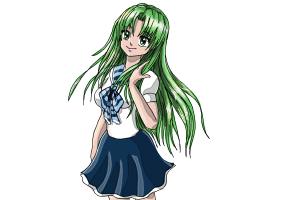
How to Draw Manga Hair
134,162
- staff_illustrator14
- July 30, 2015 (Added)
- 0 (Comments)
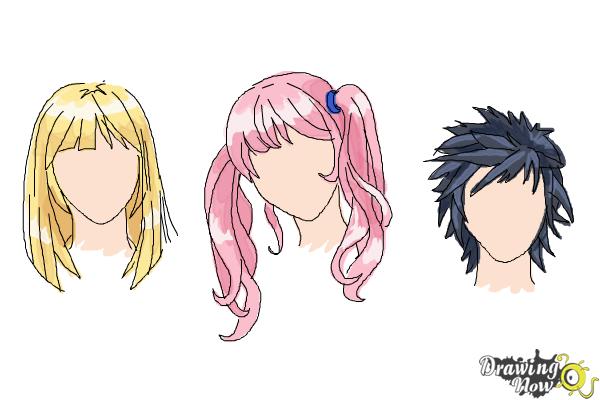
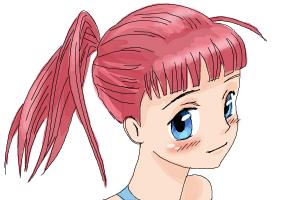
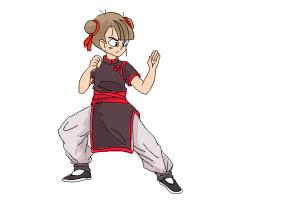
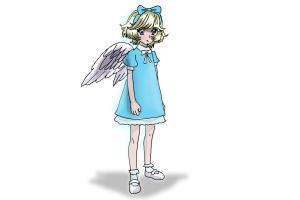
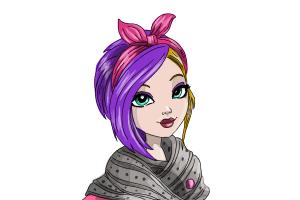
If you are a manga fan this tutorial is for you, follow the simple steps and you'll be able to draw these hairstyles easy.
Category:
Tags:
 Show Less
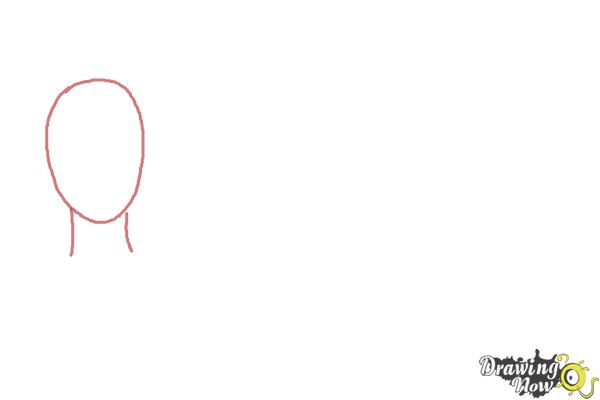
Step 1 - Draw an oval shape for the head and a neck.

Step 2 - Add a rounded line just above the middle of the face and connect it with two long lines. Draw more lines from the sides of the head almost as long as the previous ones and connect them.

Step 3 - Add more details to the hair using more lines at the top and sides.
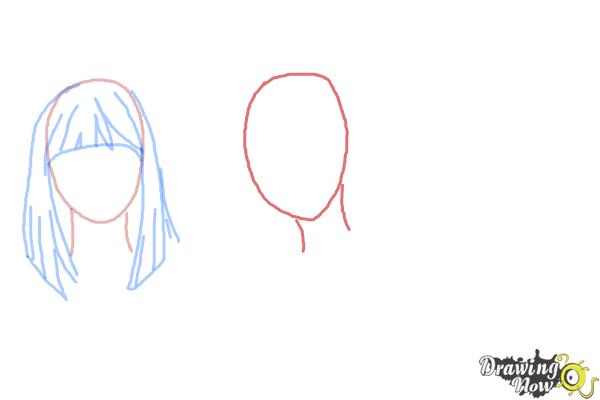
Step 4 - Draw another oval shape 3/4 view, add the neck on the right side of the head.

Step 5 - Add rounded lines just above the middle of the face and another one outside on the left.
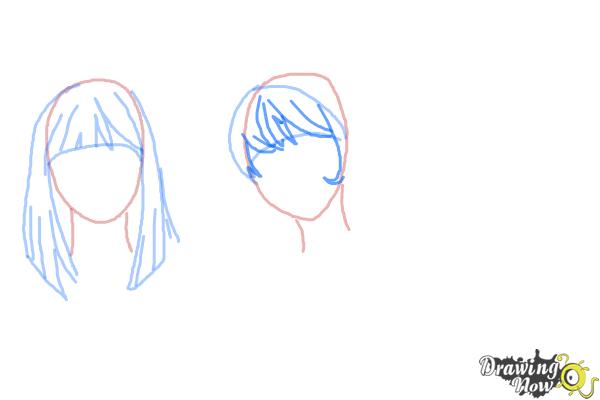
Step 6 - Add details using more lines inside the main shape of the hair.

Step 7 - Add a few curly lines on the left side of the head, use the lines we added before to get the position right.
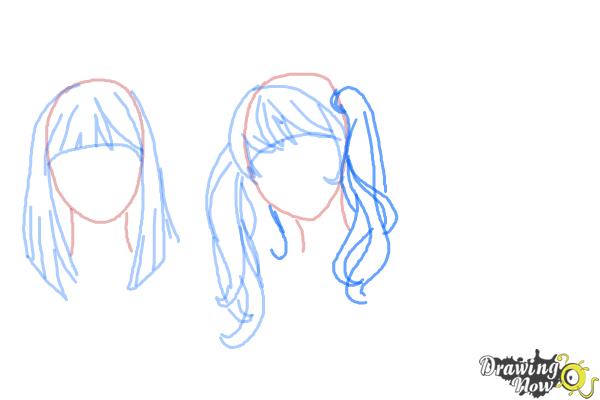
Step 8 - Start the hair tie higher than the one we drew before because the head is tilted, also here use curly lines.

Step 9 - Add another oval shape and neck for the third hairstyle version.
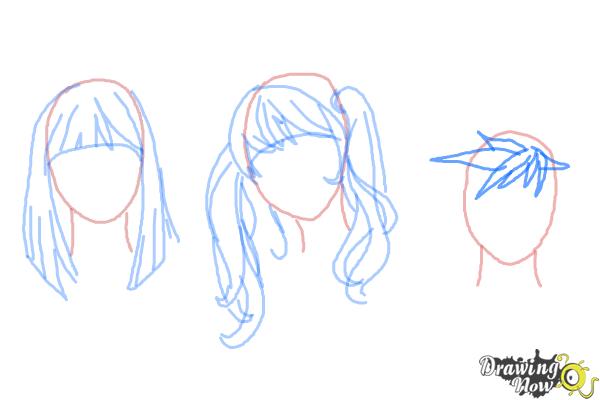
Step 10 - Draw a few spikes facing down in the upper part of the face and two more spikes going to the side.
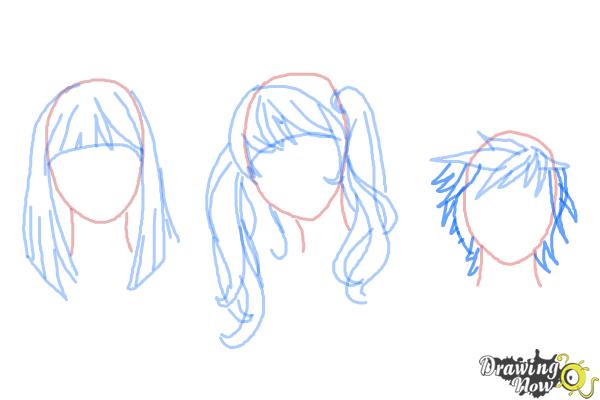
Step 11 - Add more spikes on sides of the head, you can use the lines we drew in the previous step as reference.
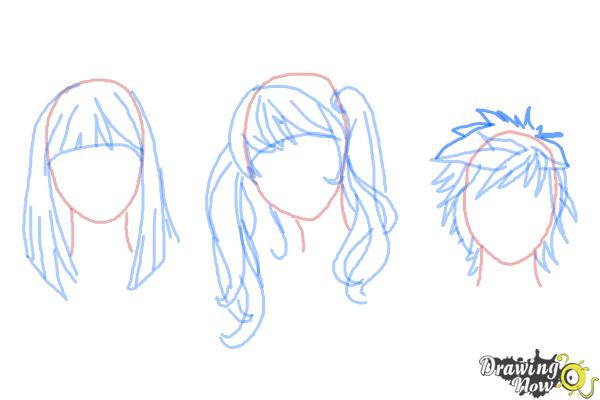
Step 12 - Finish this hairstyle with a few spikes on the top, just above the oval shape.
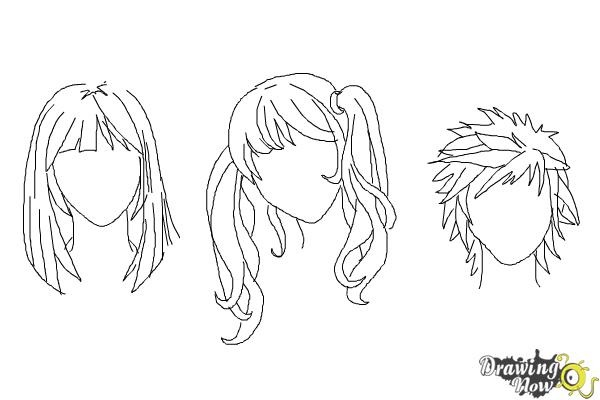
Step 13 - Trace your sketches with a black pen and erase them after.
