
How to Draw The Little Prince
122,564
- staff_illustrator14
- September 12, 2015 (Added)
- 0 (Comments)
Hi everybody, today I'm going to show you how to draw the little prince from the new animated movie "The Little Prince". To start this tutorial you'll need a pencil and an eraser, watch the step by st...
Category:
Tags:
 Show Less

Step 1 - Start with an oval shape for the head and add two ears on the sides just below the middle of the face.

Step 2 - Draw a rectangle for the body and add another two lines for the lower part, continue the lines of the rectangle downwards.

Step 3 - Draw a diagonal line from the shoulder and finish the line at the middle of the lower part we drew before, add a curved line for the hand. Do the same with his other arm and hand.

Step 4 - For his scarf we're going to draw a line starting in the middle point between the ear and the chin and finish it on the other side. Add two curved lines inside.

Step 5 - Continue drawing the scarf using a curved line from the neck and another from the middle of the arm, add two more diagonal lines and connect them to the first shape.

Step 6 - Start drawing the little prince hair with a long wavy line across the face and connect it to the point just above his head, add three more similar smaller shapes above.

Step 7 - Add more spikes on the right side until the ear, add couple of more big spikes on the left side.

Step 8 - Draw the facial features, for the eyebrows use two curved lines and connect them to the sides of his face, continue drawing his small eyes, a triangle shaped nose and a small line for his mouth.

Step 9 - We're going to add a few details to his shirt, draw a vertical line in the center of his body and add 3 small circles on the right side. For the lower part draw three straight lines as in the image.

Step 10 - Trace your pencil lines using a black pen or marker. You can also print this coloring page of The Little Prince here.

Step 11 - For the coloring part I used a few shades of green for his shirt and light green on the sides, for the face I used different shades of light and darker brown. You can follow the coloring technique by watching the final step in the video above.
Suggestions
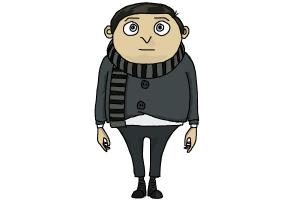
How to Draw Little Gru from Minions : Rise of Gru
by staff_illustrator17
24,725 views
24,725 views
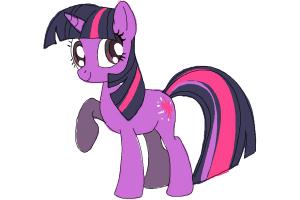
How to Draw My Little Pony Step by Step
by staff_illustrator14
164,498 views
164,498 views

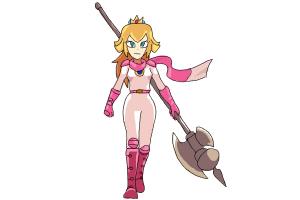
How to Draw Disney Princesses
by staff_illustrator14
257,012 views
257,012 views

How to Draw Prince Eric from The Little Mermaid
by staff_illustrator8
36,473 views
36,473 views